
How to Add a Sidebar to Your Squarespace Blog in Brine

Have a blog on Squarespace but you’re not sure how to create a sidebar?
Spoiler alert - you don’t have to be using a template that has a built in sidebar. You can create your own!
I use the Rally template, which is part of the Brine family. If you look at its capabilities, you would see that it doesn’t naturally offer a sidebar.
There is a very easy workaround with this that doesn’t require code. This will also work for Squarespace 7.1 as well.
If you have a lot of blog posts, you’ll most likely want to have someone on your team, like a virtual assistant, help you out.
Here are the step by step instructions for creating a Squarespace blog sidebar.
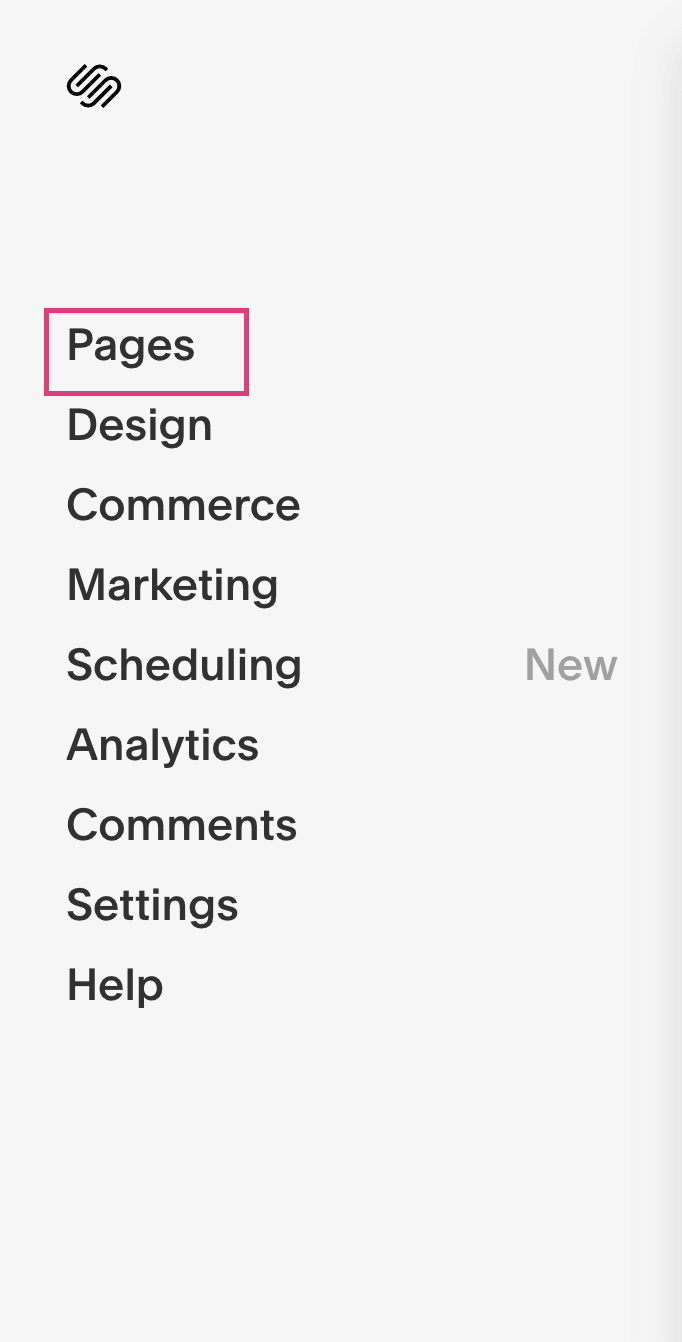
1. Open a blog post
Go to Pages - Blog and click on the post you want to add a sidebar to.
This is a manual process, so it doesn’t matter which blog post you choose.
If you hover over the blog post, you’ll see “edit” appear in the upper right hand corner.
Note: You can hit edit directly from the left panel which will bring up the blog post in a pop up window. But I like to see how the changes will appear in real time, so I click on the blog post from the left panel and then click edit on the upper right hand corner of the blog post on my screen.
The blog post will now be in editing mode.


2. Insert a spacer block
At the top of the page, hover over the left hand corner until you see the insert point. Click and insert a spacer block.

Then drag the spacer block to the right side of your blog post content and line it up so it spans the full length of the post.
Note: If you don’t get the spacer block to line up with the full post, then it will only indent certain text and image blocks.

Then you want to use the middle point to drag the spacer block closer to the right to minimize it. You don’t want your blog sidebar to be too big.


3. Use the insert point to add the blocks of your sidebar
Now that you have the width of the sidebar figured out, now it’s time to add the content.
Click the insert point inside your sidebar area to start adding images, text and buttons if you’d like. You have the ability to add any Squarespace block, but be aware of the small sizing and how it will appear.
In your sidebar, it’s common to include:
Photo of you
Your name and a small bio
Social media links
Lead magnet graphics
Blog post categories


When you’re done, you can delete the spacer block you inserted for formatting in Step 2.
Then click Save.

4. Repeat the process for all older blog posts
If you add a sidebar to one blog post, you’ll want to keep it consistent and add it to all your blog posts.
As mentioned above, this is very time intensive if you already have a lot of blog posts.
But you can save yourself a lot of time in the future with this next step...
5. Duplicate the blog post for future blog posts
From the left panel, click Edit on the post with the sidebar.
Choose duplicate to create a copy.
This will become your template. You can either keep the existing content in your new template as is for the future or replace it with filler Lorem Ipsum text.
And that’s how you create a sidebar in Brine or any other Squarespace template that doesn’t allow a sidebar automatically.
But just in case you’re wondering...
Is there a Squarespace sidebar plugin?
Yes! You can check out the sidebar plugin from SqSpThemes.
I downloaded this, and absolutely love it! It’s 100% worth the investment.
I also use it on client websites, and it’s a breeze!


Have questions? Drop them in the comments below!
Are you a coach, creative or service-based business owner struggling to drive traffic to your website through your blog? Want to grow your leads on autopilot and make more sales? This is exactly how I help my clients!
After implementing SEO strategies for billion dollar global brands, celebrities, and lawyers, I help position my clients at the top of the Google search results so they can get seen by the people that need their services most.
Looking for more Squarespace SEO tips? Check out these blog posts: